


Troubleshooting Power Automate - Non-default Environment Bug in SharePoint
November 06, 2023
1 min
Are you interested in implementing change monitoring for your PowerApps Form within Azure DevOps? If so, allow me to provide you with a comprehensive guide on how to achieve this objective in a professional manner.
Here are the steps on how to do it.
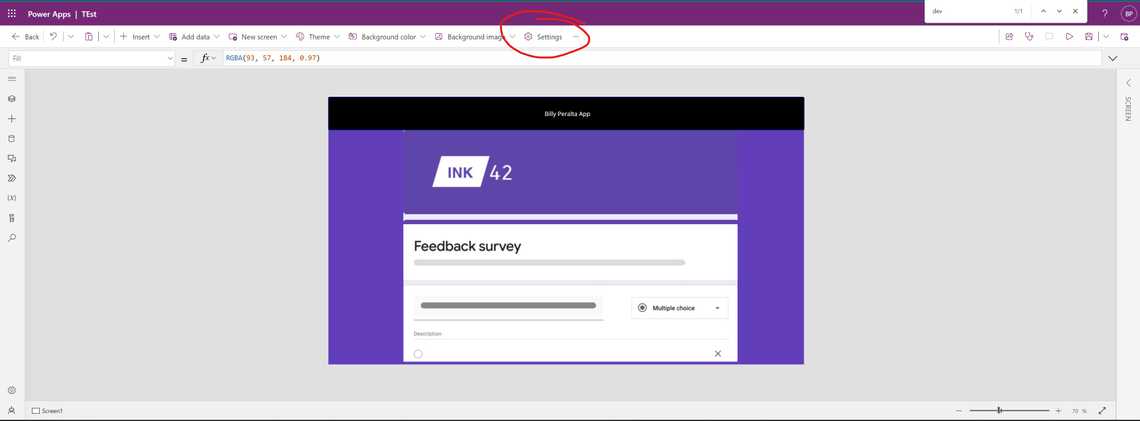
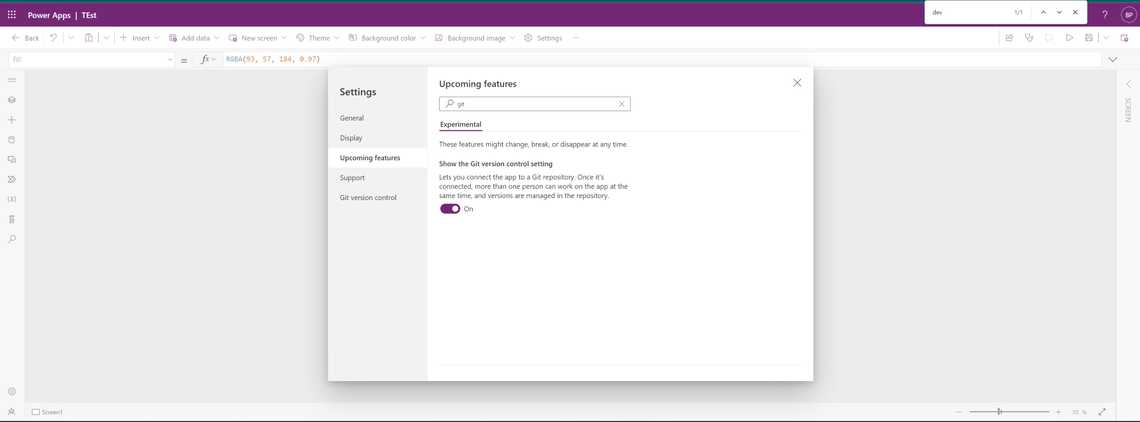
Under the “Upcoming Feature” section, locate and select the “Show the Git version control setting” option.
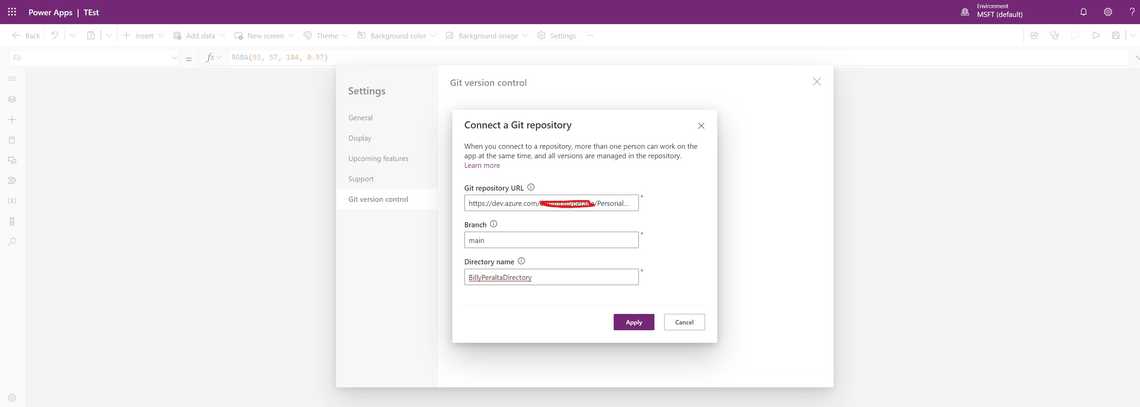
Once the “Git Version Control” option appears, it will allow you to connect your PowerApps Form to your Git repository.
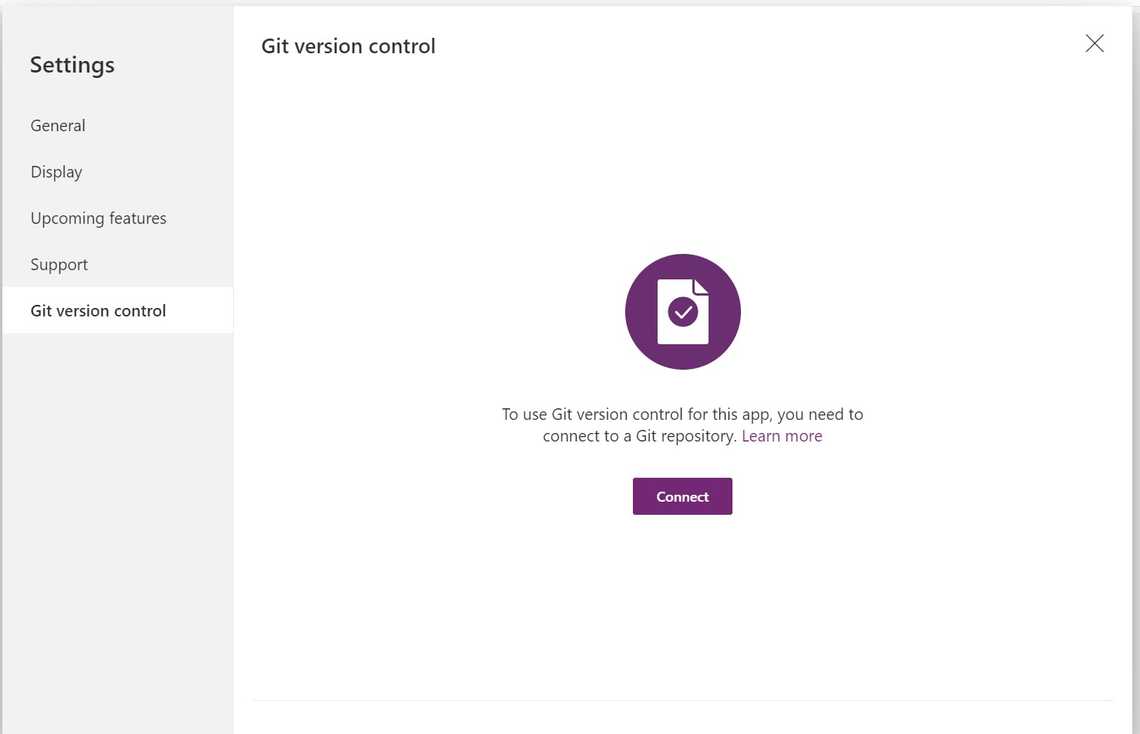
Click on the “Connect” button, which will prompt you to provide the following information:
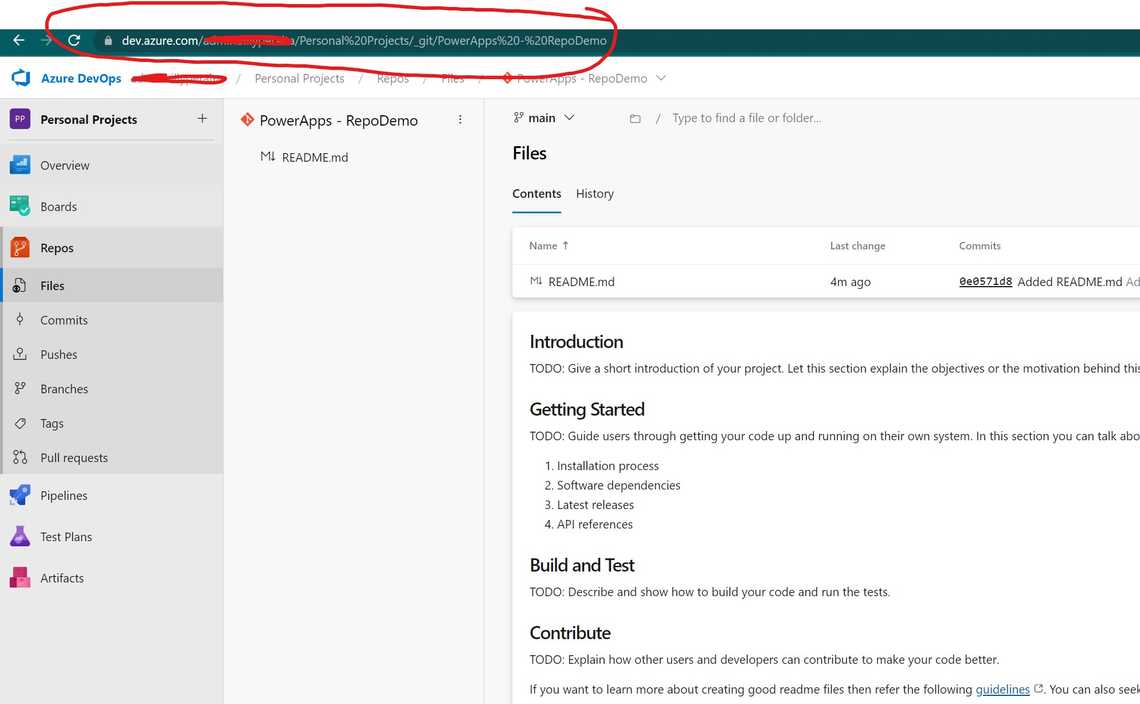
In your DevOps Project, create a new Repository named “PowerApps-RepoDemo” (or any desired name).
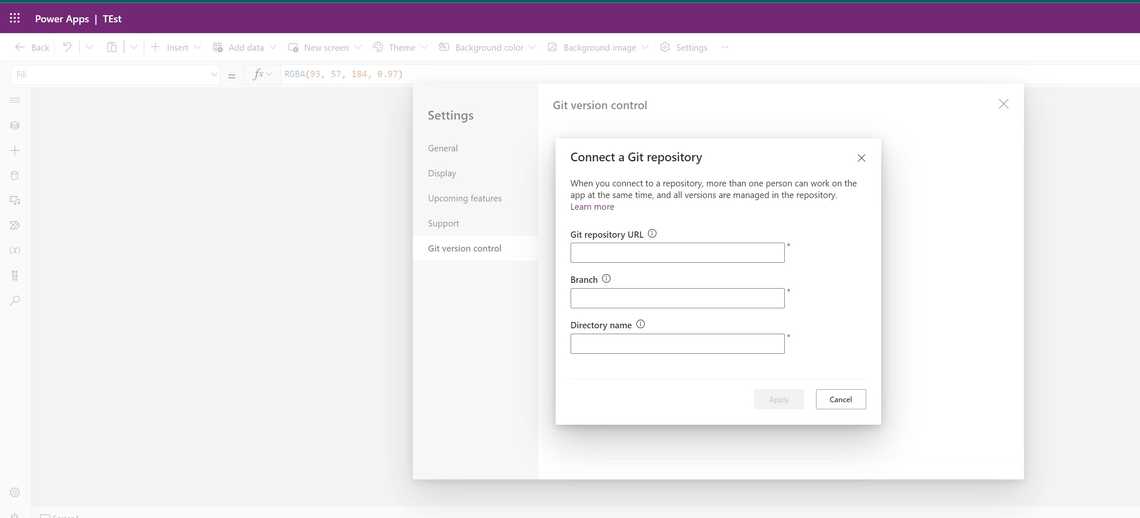
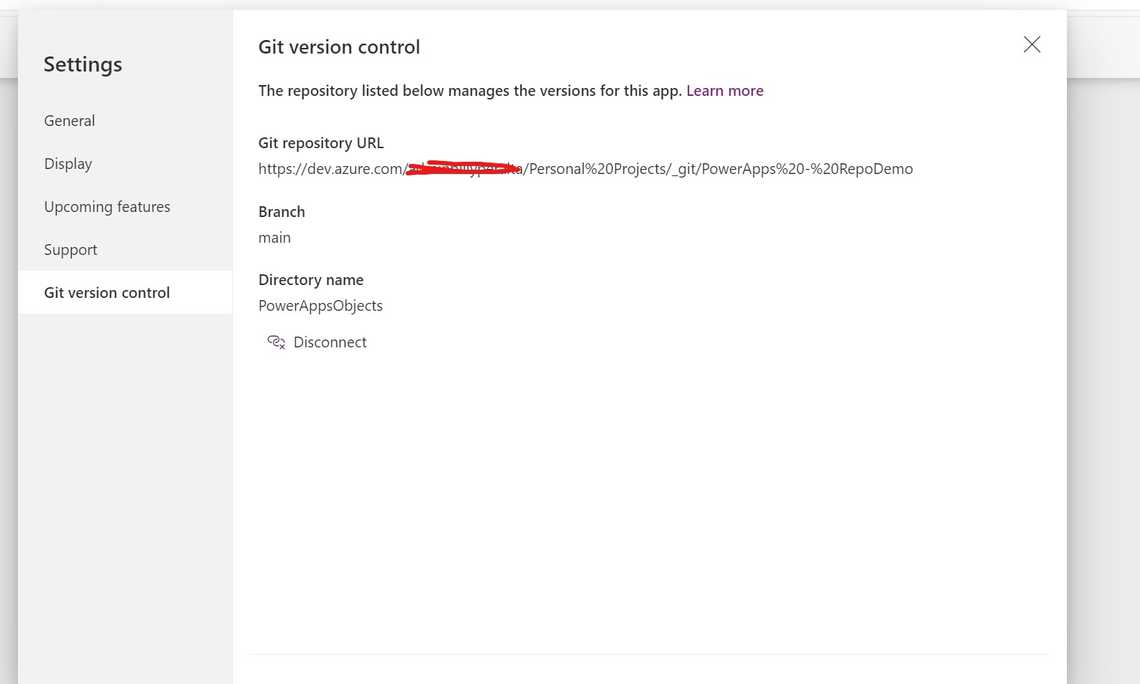
Copy the URL of the newly created Repository and paste it into the “Git repository URL” field in PowerApps.
https://dev.azure.com/BillyDevops/Personal%20Projects/_git/PowerApps%20-%20RepoDemo
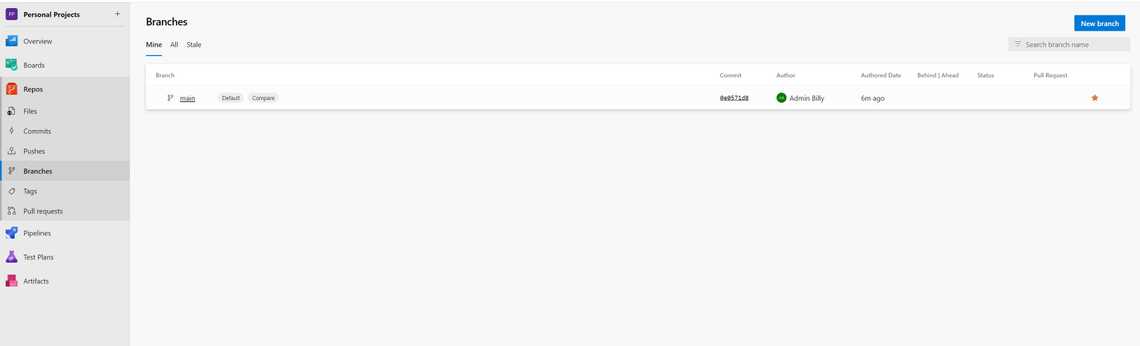
For Branch, pick the branch you want to push your code. We are going to use my default branch called “main”
For the Directory name we provide any name to it, this will use to create a new folder in your repo and that will be used to push all your PowerApps Assets and code.
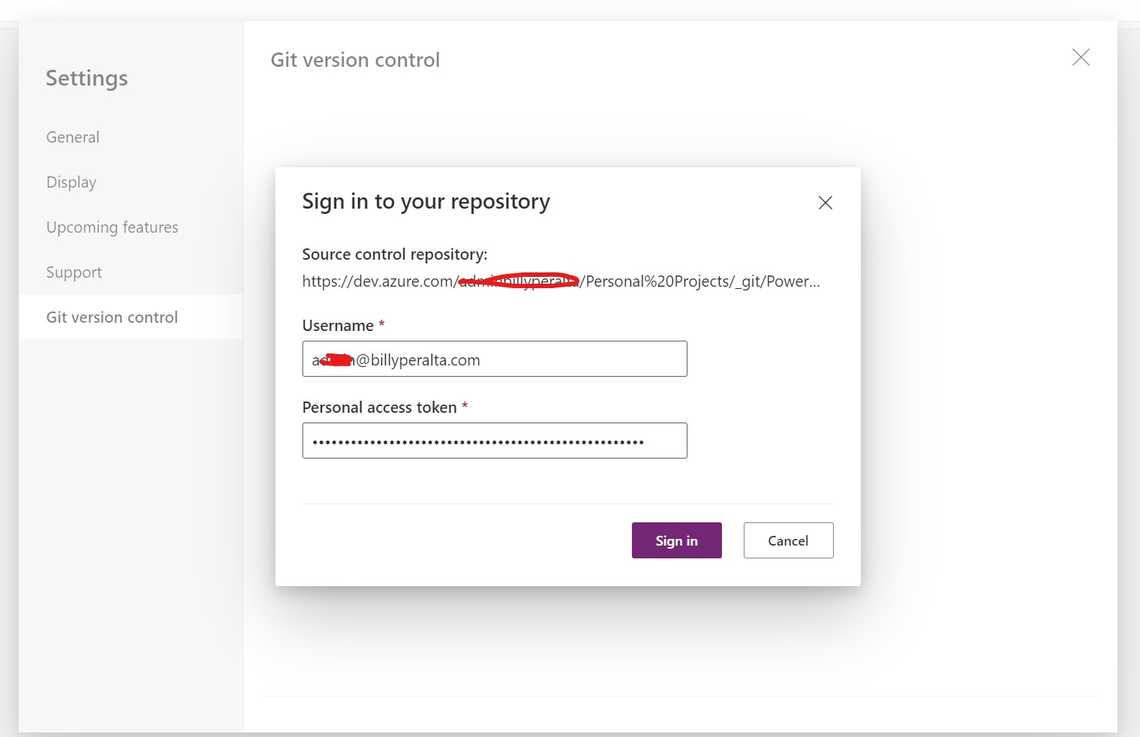
Lets go back to PowerApps and Provide the information we have
PowerApps will prompt you for a username and password.
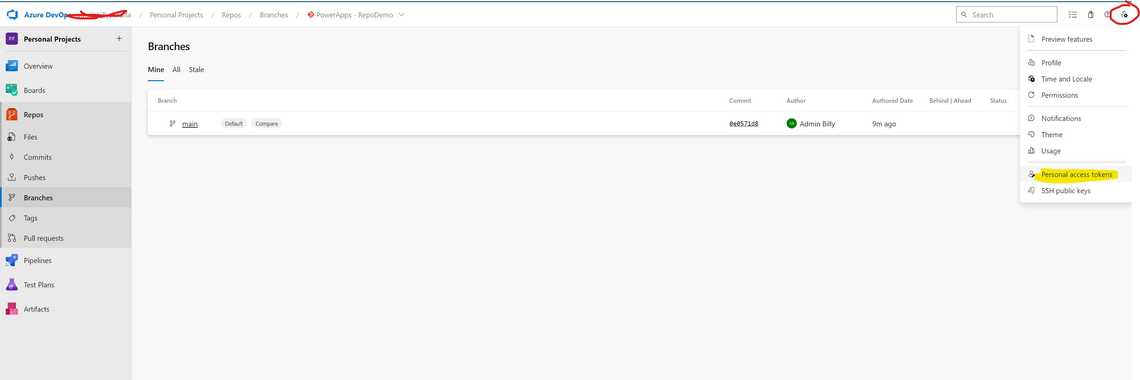
Generate a new Personal Access Token in Azure DevOps by clicking on “User settings” at the top right of the page, then selecting “Personal access token.”
Click on ”+ New Token” and provide the necessary information.
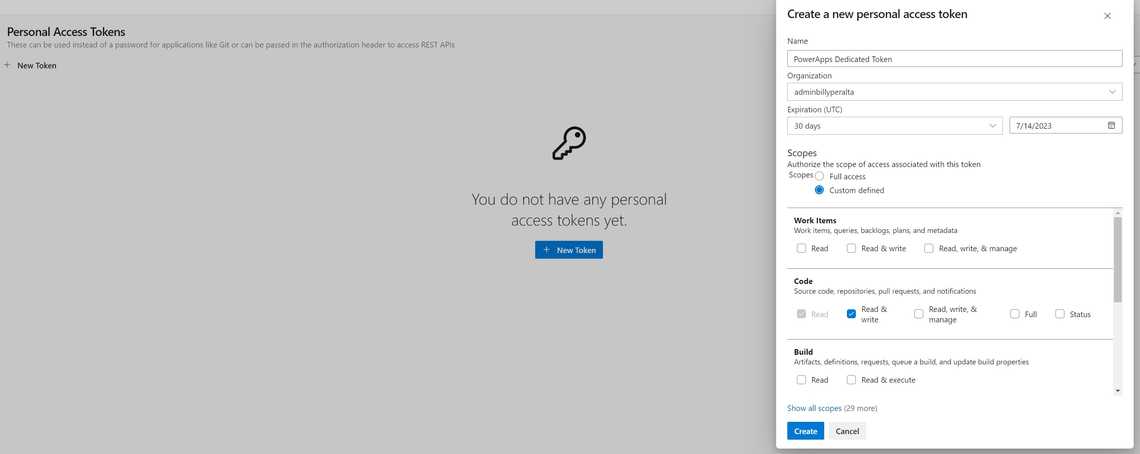
After clicking “Create,” ensure you save the generated token. Return to PowerApps and provide the generated token as the password. For the username, use the email address associated with your Personal Access Token.
Once connected, you will receive a confirmation in PowerApps.
Return to Azure DevOps, where you should see a new folder within the selected branch. This folder will correspond to the directory name provided earl
By following these steps, you will successfully set up change monitoring for your PowerApps Form within Azure DevOps.


